Tutorial: How to improve your renderings by amplifying the details
Transcription:
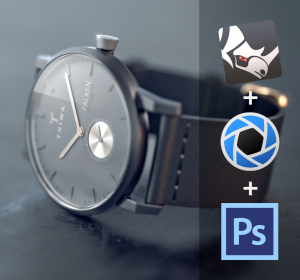
Hi everyone. Esben Oxholm here. In this tutorial I want to show you how to create the detail layer that you will find in the post processing in all of my practice scenes. If you are interes you can go to www.gumroad.com/esbenoxholm and download these practice scenes and get the models that has been used, the KeyShot .KSP and the Photoshop .PSD used for all the post processing. Two of them are free or pay-what-you-want and this one comes with the small price of five dollars. Enough with advertising for now. Lets dig in to the actual tutorials.
I got a question about how I created this detail layer that you will find in the .PSD that comes with the practice scene. It is actually quite simple. So just follow along. Here I have the rendering straight from KeyShot and the first step we need to do to create the detail layer is to copy it to a new Photoshop document. So I press cmd+A, cmd+C, cmd+N, click okay, and cmd+V to copy it in. Then I go to image > adjustments and select HDR Toning. What I want to create here is a layer where the details sort of pop. I dont need any colors so I turn down the saturation. I want a lot of details and I want a pretty small radius. The strength – turn it up to something like this. I also want to avoid highlighted areas so I’ll turn the highlight slider down a bit and I also want to avoid completely black areas, like this and this area here, so I turn up the shadow slider just a bit. Something like this, which is what we need for the detail layer.
I click okay. Then I press cmd+A to select the entire image, cmd+C to copy it and then I go back to the original rendering. Here I press cmd+V to copy it in and you see we get it as a layer for itself. I rename it to ‘Details’ and change the blending mode to ‘overlay’. Then I hold in ‘ALT’ and press this mask button, so we actually don’t see anything of it. Then I will take a big and soft brush with the flow of something like 20, make it white and then I’ll simply draw in the areas where I want the details to show more. So around these buttons here and the cracks in the glass and the fingerprints and I turn down the size of the brush a bit and go over the area here and the area on top of this stick. Something like this. Then I will just turn the layer on and off to see how it looks without and with it. There is a huge difference as you see. Typically is a bit too much I think, so I’ll turn down the overall opacity to something like 50 or 60 or whatever you think looks good. That is actually all you have to do to create this detail layer and get your details to pop!
Thanks a lot for watching. I hope you learned something and as always subscribe and like if you would like to see more like this and to help other just like you to find this resource.